Wednesday, March 31, 2021

Itty Bitty Greetings Easter Card

I love holidays because its another excuse to send cards to the people I love. I pulled out some left over DSP from sale-a-bration to complete this card and am loving it.

Supplies

1 - 8 1/2"x11" sheet of Basic White Cardstock

1 - 5 1/4"x4" piece of Paper Blooms DSP

Forever Greenery Laser Cut Specialty Paper

Scrap Basic White

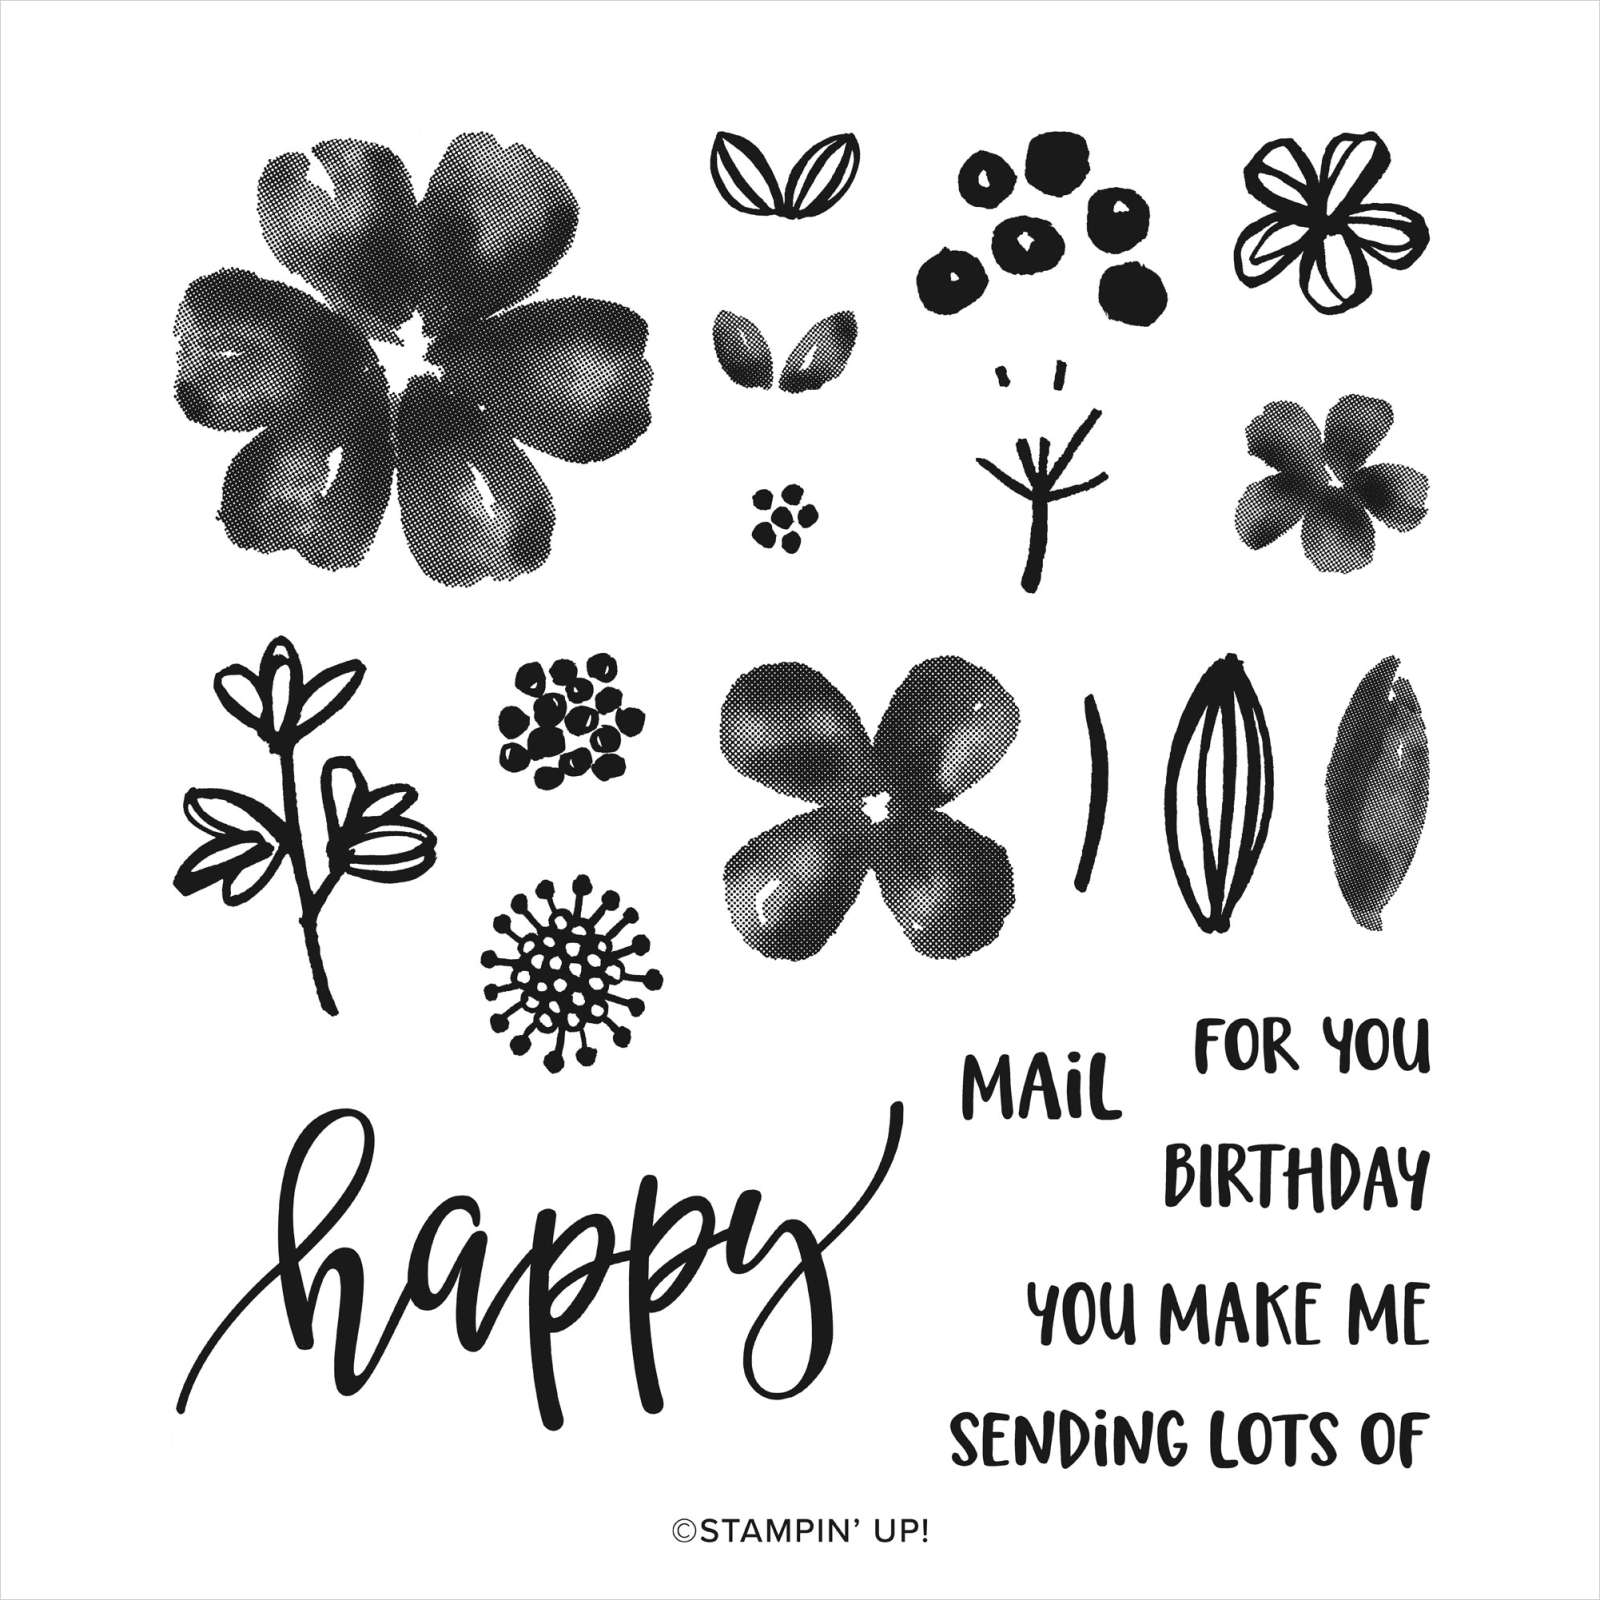
A Touch of Ink stamp set 

Itty Bitty Greetings stamp set

Memento Black ink

Sahara Sand ink

Crumb Cake Stampin' Write Marker

Label Me Fancy punch


Instructions

Take the 8 1/2"x11" sheet of cardstock and cut it down to 4 1/4"x11" and score it at 5 1/2" along the long side. I then went ahead and adhered the DSP to the front of the card right away. I chose the rectangle gold foil piece from the Forever Greenery Specialty Paper pack.

I took a scrap piece of cardstock and stamped the base hummingbird image from the A Touch of Ink stamp set in Sahara Sand. I then stamped the outline in Memento Black, I took the Crumb Cake Stampin' Write marker and shaded the hummingbird to give his some extra depth. I then fussy cut the bird out.

I stamped the sentiment from the Itty Bitty Greetings stamp set in Memento Black on a scrap piece of Basic White cardstock. I then took the Label Me Fancy punch and punched it out.

I then adhered the gold foil element to the center of the card front. I adhered the sentiment piece flat to the card but I used Stampin' Dimensionals to adhere the hummingbird.

I love having punches to play around with. They can really dress up a sentiment and add a lot to your card. They can add extra texture and the shapes add some variety making it so your cards don't always look the same. One of my favorite punches is the Tailored Tag punch but I had some extra pre-punched Label Me Fancy labels that I wanted to use. This punch is super fun and versatile.


Do you have a favorite punch you love to use? Let me know in the comments below.

Happy Paper Crafting!   

*Contact me directly to place an order or search for Blaze Tully under 'Find a Demonstrator' to shop under me on the Stampin' Up Website.*

Tuesday, March 30, 2021

How to Dress Up Your Envelopes - Pt. 1

Last week I shared how to make your own custom envelopes. This week I wanted to share how to dress them up. Now whether you buy your envelopes or make them these ideas will work.

#1 - Emboss the flap! It is really easy to stick the flap of your envelope in an embossing folder and run it through either your Big Shot or your Stampin' Cut & Emboss machine.

#2 - Stamp on the envelope. You can stamp an image or greeting on either the front of the envelope or the flap.

#3 - Match your envelope to your card base. Why not make an envelope the same color as your card or use DSP that matches.
 

Next week I will share three more ideas on how to dress up your envelopes!

Happy Paper Crafting! 

*Contact me directly to place an order or search for Blaze Tully under 'Find a Demonstrator' to shop under me on the Stampin' Up Website.*

Saturday, March 27, 2021

Fine Art Floral Thank You Note Card

Sometimes when you are in a crafting rut changing up the size of your card can help you get your mojo back. I wasn't in a creative rut but I did have a customer ask for some note card sized thank you cards and it certainly helped me to feel inspired for my future projects.


Supplies

1 - 8 1/2"x11" sheet of  Basic White cardstock

1 - 4 3/4"x3 1/4" piece of Fine Art Floral DSP

Scrap piece of Basic White Cardstock

Thankful Thoughts Stamp Set

Rococo Rose Ink

Layering Circle Dies

Gold Trim


Instructions

Take the 8.5"x11" sheet of cardstock and cut it down to 5"x7". Score it at 3.5" on the long side. I then adhered the piece of DSP to the front of the card. I took the scrap piece of cardstock and in Rococo Rose stamped my sentiment in the center of the paper. I then used the fifth largest circle from the set of layering circle dies and ran it through my die cutting machine. Using a glue dot to hold the ribbon in place I arranged it in a figure eight pattern on the back of the circle. I then placed Stampin' Dimensionals on the back of the circle and adhered it to the center of the card front.

If you make this note card you may not n envelope for it, you can check out my blog post on how to make custom envelopes.

Step It Up

To take this card to the next level you could always add a scalloped circle in a coordinating cardstock color. Or even add some coordinating enamel dots.

While I chose to make my own card bases Stampin' Up! makes it really easy for you. You can get packs of 20 note cards with envelopes for $9.50. You can get them in Basic White or Very Vanilla.

I also want to highlight the gorgeous Fine Art Floral DSP from the January - June Mini Catalogue. This is an amazing suite but my favorite part is the DSP. It features beautiful bold hand painted floral images. If you haven't figured it out yet I love everything floral. But the back side of the paper is just as bold and beautiful. I have had so much fun playing with this paper and can't wait to show off my creations to you.

Let me know what you think of this paper in the comments below!

Happy Paper Crafting! 

*Contact me directly to place an order or search for Blaze Tully under 'Find a Demonstrator' to shop under me on the Stampin' Up Website.*

Wednesday, March 24, 2021

Last Chance Products Sale!

Today Stampin' Up released the list of retiring products from the 2020-2021 Annual Catalogue. While this is a sad day for a lot of us seeing some of our favorite products go away it is also very exciting! 

A lot of the products on the Last-Chance list are selling at a discounted price. I should warn you though that these items are only available while supplies last.

Check out the complete list of retiring products here!

Happy Paper Crafting! 

 *Contact me directly to place an order or search for Blaze Tully under 'Find a Demonstrator' to shop under me on the Stampin' Up Website.*

A Touch Of Ink Easter Card

Easter is coming up very quickly, and while this Easter card doesn't have all the bright spring time colors I felt it was still very tasteful and appropriate. I hand stamped the sentiment using a couple different stamp sets, I am not going to go into detail on how I created this sentiment but you can check it out here.
 

Supplies

1 - 8 1/2"x11" sheet of Basic White cardstock

1 - 5 1/4"x4" piece of Basic White cardstock

1 - 2 1/8" Sahara Sand cardstock circle

1 - 3 1/4"x1" piece of Basic White cardstock

Scrap piece of Basic White cardstock

A Touch of Ink stamp set

Make A Difference stamp set (for the sentiment)

Itty Bitty Greetings stamp set (for the sentiment)

Perfect Plum ink

Mellow Moss ink

Memento Back ink

Sahara Sand ink


Instructions

Take the 8 1/2"x11" sheet of cardstock cut it down to 8 1/2"x5 1/2" and score that at 4 1/4" on the long side.

I then took the piece of Basic White cardstock and stamped the base floral image from the A Touch of Ink stamp set in Perfect Plum ink. I chose to stamp it a few times along the edge of the paper leaving some space for leafs. I took the single leaf base image and stamped it in Mellow Moss in the holes between the flowers. I then stamped the outlines in Memento Black.

I took the scrap piece of Basic White and stamped the Hummingbird in Sahara Sand and the outline in Memento Black I then fussy cut the image out.

I then adhered the piece of Basic White cardstock that I stamped the floral image on to the front of the card base. I then adhered the hummingbird to the circle and then to the front of the card. I used Stampin' Dimensionals to adhere the sentiment to the front of the card base.

Like I said earlier I made my own sentiment and you can check out how to make it here.

Step It Up

The first way to step up this card is rather than using the base image from the stamp set you can pull out your Stampin' Blends and color in the outline.

You can also wrap some twine around the end of sentiment strip to just add a little bit more.

You can take this card one step further by running the circle through an embossing folder.

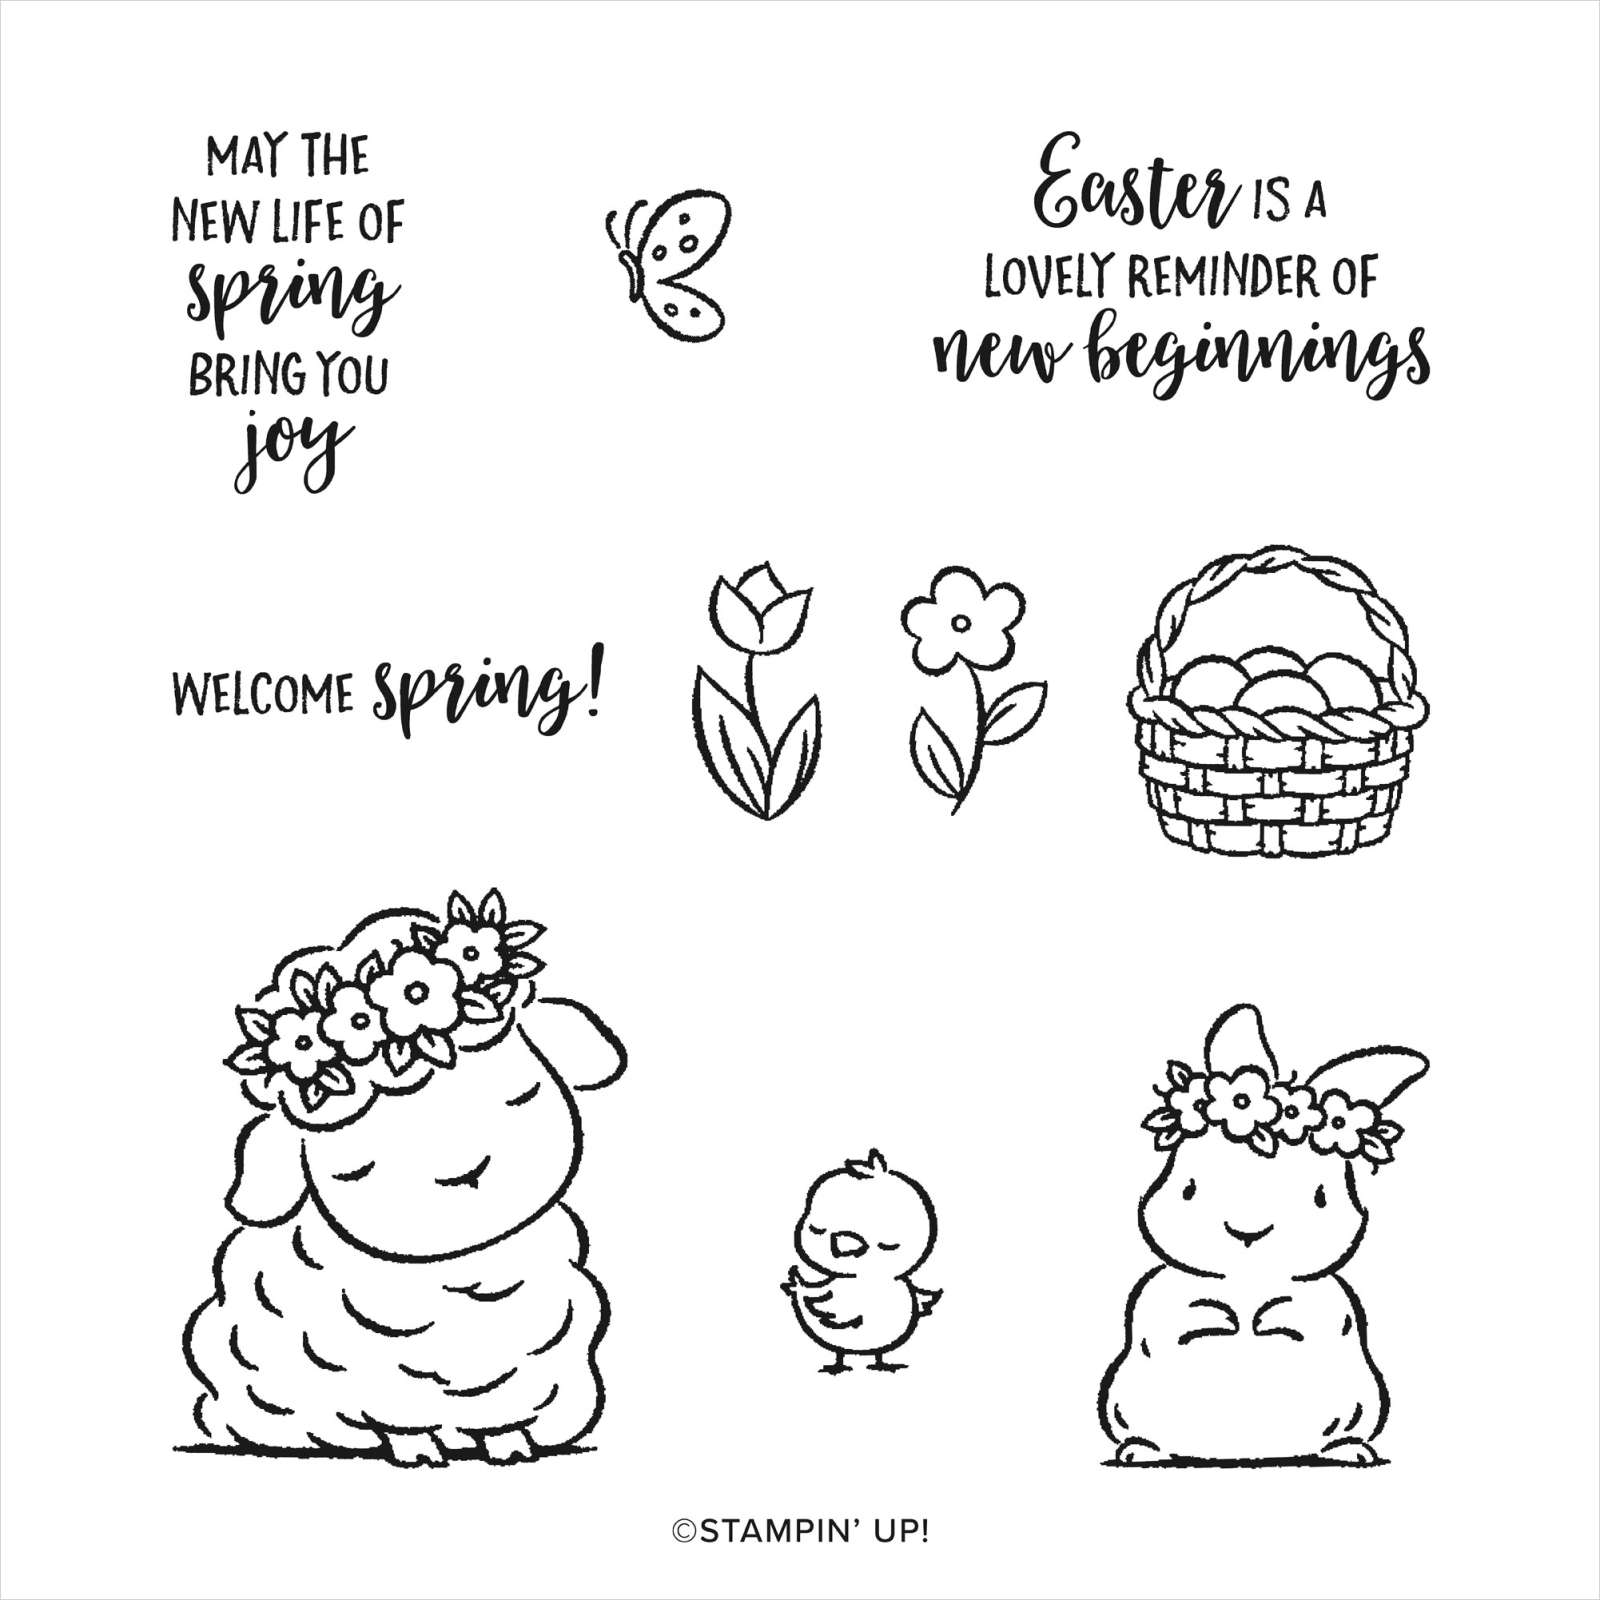
The Springtime Joy stamp set would be a great alternative for this card. The lamb or bunny would be a cute addition to the front of the card instead of the hummingbird. You could even stamp the flowers along the edge of the page in the same way.

Let me know in the comments below do you send Easter cards?

Happy Paper Crafting! 

*Contact me directly to place an order or search for Blaze Tully under 'Find a Demonstrator' to shop under me on the Stampin' Up Website.*

Tuesday, March 23, 2021

How To Make Your Own Custom Envelopes

Sometimes when you're making cards you come across instructions for a really cool fun fold. When you're done you realize that it's an awkward size and you don't have an envelope for it. I have a formula for figuring out how to make a custom envelope for any card.

To determine the size of the paper for your envelope, you'll want to add at least 1/4" if not 1/2" to the size of the card on each side. So for example if you want to make an envelope for a note card that is 5"x3 1/2" and you only want 1/8" of wiggle room all around, the size of the card for formula's sake would then be 5 1/4"x3 3/4".  

Take the height of your card, in this case it is 5 1/4" and add 1" that makes the width of the paper for your envelope 6 1/4".

To determine the length of the paper you will take the original width of your card, in this case it is 3 1/2" multiple it by 2 and add 2 1/4" (for this measurement you can use your judgement depending on the size of the card). This makes the length of the paper for your envelope 9 1/4".

On the short side of the envelope you will score at 1/2" on either side.

To figure out where to score on the long side take the card width minus 1" in this case it makes your first score at 2 1/2". To determine your second score line take 2 1/2" and add the width with the wiggle room together. That makes the second score at 6 1/4".

Once finished that cut out the corners (like marked in the photo). Fold on the score lines and decide which will be the top flap and which will be the bottom flap. Place adhesive as close to the edges on the bottom flap and fold it up onto the 1/2" side flaps.

Voila you should have an envelope that fits your card perfectly!


Happy Paper Crafting! 

*Contact me directly to place an order or search for Blaze Tully under 'Find a Demonstrator' to shop under me on the Stampin' Up Website.*

Saturday, March 20, 2021

Forever Fern Hello Card

I like to have some generic all occasion cards in my stash so I can send a card to friends or family just because. The amount of times I have gone to the post office to discover happy mail from my Sister-in-law or nieces and nephew are numerous and it always takes me by surprise. I love being able to do that for the special people in my life. I am not sure who will get this card yet but it'll be a surprise no matter what.


Supplies

1 - 8 1/2"x11" sheet of cardstock

1 - 5 1/4"x4" piece of cardstock

2 - 2 1/4" circles

Scrap very vanilla cardstock

Scrap gold foil paper

Forever Flourishing Dies

Forever Greenery Linen Ribbon

Forever Fern Stamp Set

Memento Black Ink Pad

Stripe Embossing Folder or Scoring Board


Instructions

Take the 8 1/2"x11" sheet of cardstock cut it down to 8 1/2"x5 1/2" and score that at 4 1/4" on the long side. 

Take the 5 1/4"x4" piece of cardstock, if you have an embossing folder that will give you the lines great if not you can use a scoring board. I wanted my stripes to be 1/2" apart so I scored at every 1/2". I wouldn't score it any further that 3/4" apart but you could certainly choose to score them closer together giving you more lines.

I then took my Forever Flourishing dies, Stampin' Cut & Emboss machine and cream cardstock to die cut some florals. I then took a small scrap of gold foil and cut the tiny little branches.

I then took the white circle and stamped the 'Hello' from the Forever Fern stamp set in Memento Black ink on the right side of the circle.

I then adhered the cardstock layer to the front of the card. I then adhered the circles together, slipping the gold foil piece in between them. I then adhered the curved branch to the lower left side of the circle. I have found that it was easiest to adhere the large floral branch to the back of the circles before adhering it to the front of the card. I then used a glue dot to adhere the bow to the center of the curved branch.

Step It Up

Rather than layering two normal circles together you could try using a scalloped circle. Or make it a birthday card by adding balloons and candles instead of floral pieces.

I absolutely adore this bundle! It is such a versatile and fun to work with stamp and die set. To get this bundle and save 10% head over to the Stampin' Up! website here or email me with your order.

Let me know in the comments below do you send cards to your friends and family just because?

Happy Paper Crafting!

*Contact me directly to place an order or search for Blaze Tully under 'Find a Demonstrator' to shop under me on the Stampin' Up Website.*

Wednesday, March 17, 2021

Beautiful Friendship Birthday Card

Between my family and my husband's family I have about 20 people that I send birthday cards to throughout the year. In other words my birthday card stash gets depleted rather quickly. I was feeling like I needed to replenish it a little bit. I came up with this simple feminine birthday card. I was inspired to create this card by a fellow demonstrator Jackie Aitken.


Supplies

1 - 8 1/2"x11" sheet of cardstock

1 - 5"x3 3/4" piece of white cardstock

1 - 2 1/2"x3/4" piece of cardstock

Birch Background stamp

Beautiful Friendship stamp set

Itty Bitty Birthdays stamp set

Sahara Sand ink pad

Rococo Rose ink pad

Memento Black ink pad

Forever Greenery Linen ribbon (optional)


Instructions

Take the 8 1/2"x11" sheet of cardstock and cut it down to 4 1/4"x11" and score it at 5 1/2" along the long side. Take your Birch background stamp ink it up with Sahara Sand ink and then lay the card base on top of it. Take a piece of scrap paper and lay it over top so you don't get ink on your hands while you press the card base onto the stamp.

Take the piece of white cardstock and start by stamping the largest rose image in Rococo Rose. Take the bud image and stamp it in Rococo Rose where the two flowers in the large image join. Thake the leaf image without a stem and ink it up in Sahara Sand and stamp it three times around the larger of the roses in the large image. Then take the fluffy branch and ink it in Sahara Sand and stamp it at the bottom coming out from the smaller rose.

Then take your sentiment and ink it in Memento Black ink and stamp it on the small strip of cardstock.

If you want to include the ribbon I placed a glue dot on either end of the piece of ribbon and wrapped it around the white piece of cardstock. I then adhered the white piece of cardstock to the front of the card base. I wanted the sentiment to pop off the card so I used dimensionals to adhere it to the front of the card.

I absolutely adore the Birch background stamp. I think is so elegant and its perfect for all cards. I also really like background stamps because if you mass produce cards for specific occasions you don't have to worry about running out of pattern paper you can just make more yourself. Find the cling stamp here or the wood mount here.


If you want to get the Beautiful Friendship stamp set you can find it here.

I fell in love with the Itty Bitty Stamp Set collection. I have the Itty Bitty Greetings, Itty Bitty Christmas and Itty Bitty Birthdays which I used today on this card you can find all the stamps sets here.


Happy Paper Crafting!

*Contact me directly to place an order or search for Blaze Tully under 'Find a Demonstrator' to shop under me on the Stampin' Up Website.*

Tuesday, March 16, 2021

How To Clean Photopolymer Stamps

Stampin' Up! has two different types of stamps - photopolymer and cling. Today's Tuesday Tip is for photopolymer stamp sets. If you have any photopolymer stamp sets that are well-loved much like mine you may have noticed after a while they either don't stick as well or don't stick at all to your acrylic blocks.

I have a very easy and simple solution for you when this happens. Take your stamp to the kitchen sink and wash it with some dish soap and then let it air dry. When it's dry it will be almost as sticky as the day you got it.
 
Something else you can do at the same time is wash your acrylic blocks. They may not look dirty but trust me they do get dirty and washing them or even wiping them with hand sanitizer will give your stamps a nice clean surface to cling to.
 

Happy Paper Crafting!

*Contact me directly to place an order or search for Blaze Tully under 'Find a Demonstrator' to shop under me on the Stampin' Up Website.*

Saturday, March 13, 2021

A Touch of Ink Card

Sale-a-bration ended a couple of weekends ago and I hope everyone was able to get a stamp set or pack of paper that they wanted. I was able to get what I believe is my new favorite stamp set. I am adoring it and can't get enough of it. I apologize in advance because you guys might get sick of seeing this stamp set. A couple of weeks ago I posted a no sentiment card I made with the To A Wild Rose stamp set. Feel free to check it out here. But I loved that design and I wanted to experiment with more no sentiment cards. So I CASEd my own card. CASEing is a concept that we card makers love and it stands for Copy and Selectively Edit. I hope you can see in what ways I CASEd my card.

Supplies

1 - 8 1/2"x11" sheet of Crumb Cake cardstock

1 - 5 1/4"x4" piece of Forever Greenery DSP

Scrap Basic White cardstock

A Touch Of Ink Stamp Set

Sahara Sand Ink Pad

Rococo Rose Ink Pad

Memento Black Ink Pad

Crumb Cake Stampin' Write Marker

Primrose Petals Stampin' Write Marker

Stampin' Dimensionals

Forever Greenery Gold Trim


Instructions

Take the 8 1/2"x11" sheet of cardstock cut it down to 8 1/2"x5 1/2" and score that at 4 1/4" on the long side. I then took my scrap pieces of Basic White cardstock and stamped the hummingbird in Sahara Sand, with the outline in Memento Black. I then took my Crumb Cake Stampin' Write Marker and using the brush tip I added some depth to the image. I essentially just drew along each line of the wings and tails and colored the belly, I then fussy cut the humming bird out. I then stamped the flower in Rococo Rose three times with the outline in Memento Black. I took the Primrose Petals Stampin' Write Marker and just darkened up the petals and leaves with the brush tip end. I also fussy cut the flowers out.

I then took the Forever Greenery Gold Trim and wrapped it around the left side of the DSP. I adhered each end of the trim with a glue dot on the back side of the DSP. I then adhered the piece of DSP to the Crumb Cake card base. I then laid the flowers on the card front layering then the way I wanted. When I was happy with the placement I put Stampin' Dimensionals on the back of the Humming bird and adhered him to the front of the card.

Tips & Tricks

I wrapped the Gold trim around the piece of DSP but you could also cut 3 lengths of trim if you feel like wrapping it would waste too much trim.

If you have read my other card tutorials where I used the gold trim you know that I like to tie knots in it to avoid unraveling. For this card I want to tell you not to do that. A knot would add to much bulk to the card and you could have trouble with keeping the DSP adhered to the front of the card. Instead of tying two knots where I wanted to cut the trim I only made one that way the trim on the spool wouldn't unravel.

My third tip for making this card is making sure that whatever color you stamp your images in needs to be light enough that the marker will actually add to the images.

Unfortunately you can't get this stamp set anymore. But perhaps if a friend was able to snag it during Sale-a-bration you could plan a craft date with them. But the whole idea behind these no sentiment cards is to use the image stamps you have.

Easter is coming up in about a month and if you are someone who makes Easter cards you could take this layout and using the flower stamps from the Pretty Perennials Stamp Set in the mini catalogue you could layer either the Sheep or Bunny image from the Springtime Joy Stamp set also found in the mini catalogue over top. It would give you a similar outcome and you could use your Stampin' Write Markers the same way.

PRETTY PERENNIALS PHOTOPOLYMER STAMP SET 

SPRINGTIME JOY CLING STAMP SET 

The Pretty Perennials Stamp Set can also be purchased as a bundle which would save you from doing some fussy cutting. But I encourage you to go to your stamp collection and find some image stamps you love and find a way to feature them on a card without a sentiment.

Remember you can always stamp the sentiment on the inside of the card.

Happy Paper Crafting! 

*Contact me directly to place an order or search for Blaze Tully under 'Find a Demonstrator' to shop under me on the Stampin' Up Website.*

Wednesday, March 10, 2021

Flowering Desert Encouragement Card

Who doesn't love getting a card just because. Today's card is one of those, but the sentiment is so generic and fun you could also use it as a birthday card! I was inspired by fellow demonstrator Wendy Lee to create this card.


Supplies

1 - 8 1/2"x11" sheet of cardstock

1 - 5 1/4"x4" piece of cardstock

1 - 3 1/2"x3 1/2" piece of vellum

1 - 3"x3" piece of white cardstock

Flowering Desert Stamp Set

Tasteful Textile 3D Embossing Folder

Memento Black Ink Pad

Always Artichoke Ink Pad

Mellow Moss Ink Pad

Rococo Rose Ink Pad

Forever Greenery Linen Ribbon

Stampin' Dimensionals


Instructions

Take the 8 1/2"x11" sheet of cardstock and cut it down to 4 1/4"x11" and score it at 5 1/2" along the long side. Take the 5 1/4"x4" piece of cardstock and run it through the Stampin' Cut and Emboss Machine with the Tasteful Textile embossing folder.

Then I took the square of white cardstock and began to stamp using the Flowering Desert stamps set. I began with the sentiment and memento black ink and stamped it in the top right hand corner. I then stamped the larger cacti with always artichoke ink. I stamper the flower in rococo rose ink and then finished it off by stamping the smaller cacti in mellow moss ink. Any green ink would work for this card and you can change up the flower color depending on who you're making it for.

I didn't want to adhesive to show on the vellum so I made sure to put it only where it would be covered by the white piece of cardstock. You can also find special vellum glues that in theory doesn't show. I then adhered the vellum to the card layer. I cut my ribbon to the right length and put glue dots on either end and then wrapped in around the layer trying my best to center it in the vellum layer. I then adhered that to the front of the card base. Then I placed stampin' dimensionals on the back of the white piece and then adhered it to the center of the vellum piece.

The flowering desert stamp set is a retired stamp set unfortunately but Stampin' Up! has released a gorgeous product medley called Flowering Cactus and features a similar stamp set, not to mention adorable paper perfect for the tween in your life who's obsessed with cacti and succulents. To see all that this medley has to offer you can check it out here.


Happy Paper Crafting!

*Contact me directly to place an order or search for Blaze Tully under 'Find a Demonstrator' to shop under me on the Stampin' Up Website.*

Tuesday, March 9, 2021

How To Make Tie Dye Paper

I have noticed that tie-dye patterns are becoming more and more popular. For today's Tuesday tip, I wanted to quickly share how you can make your own tie-dye paper.

All you need is some ink pads in your favorite colors, a page protector or something like it, Basic White cardstock and a spritz bottle of water.
 

Starting with your page protector and your first ink pad just stamp the ink pad onto the page protector. You can stamp as little or as much as you want. You will repeat this for each of your colours. I recommend at least 3 colours just to get a nice blend. Keep your stamping generalized to the center of the page protector so that when you spritz it with water it doesn't run off the protector.

When you have finished stamping with your ink pads spray some water onto the ink. Lay your paper down on the ink and water and press gently. Lift it up and let it dry!

If you are impatient like I am you can heat set it with your heat gun.

Note: Your paper will curl. To help flatten it out you can run it through an embossing folder as I did or simply just run it through your die cut machine. You may want to go a little bit heavier with the adhesive to ensure that it stays adhered.

Happy Paper Crafting! 

*Contact me directly to place an order or search for Blaze Tully under 'Find a Demonstrator' to shop under me on the Stampin' Up Website.*

Saturday, March 6, 2021

So Very Much Thank You Card

Who sends out thank you cards? I send out so many, from time to time my nieces and nephew send me cards and I always send them back a thank you card because I want them to know how much I appreciate it. Besides when you're young getting mail is the most exciting thing in the world. This thank you card was not for any littles (at least not this time) instead I made it for a customer who placed her very first Stampin' Up! order with me.


Supplies

1 - 8 1/2"x11" sheet of cardstock

1 - 5 1/4"x4" piece of Crumb Cake DSP

1 - scrap piece of white cardstock

So Very Much Stamp Set

Memento Black Ink Pad

Gold Glitter Enamel Dots

Forever Greenery Gold Trim


Instructions

Take the 8 1/2"x11" sheet of cardstock and cut it down to 4 1/4"x11" and score it at 5 1/2" along the long side. I then adhered the Crumb Cake DSP to the front of the card base.

I took the scrap piece of white cardstock, the So Very Much stamp set and my memento black ink pad and stamped the large Thank You sentiment. I took my paper snips and fussy cut it out. I cut a length of the gold trim and adhered it to the back of the sentiment by wrapping the ribbon back and forth in a figure eight configuration. The gold trim is prone to unraveling so I tie two knots in the ribbon about 1/2" apart and cut in the middle this guarantees it won't untwist on me. While I adhered the sentiment flat to the front of the card you could also use Stampin' Dimensionals to make it pop off the card.

I then took my gold enamel dots and laid them around the sentiment to enhance the large curves of the letters. When using small embellishments like enamel dots try to use odd numbers because they are more pleasing to the eye then even numbers.

So Very Much is a retired Sale-a-bration stamp set but if you were able to snag the Heal Your Heart stamp set from the Sale-a-bration sale that just passed the thank you stamp would work just as well.

Another alternative would be to make this into a birthday card using the Happiest Of Birthdays stamp set. You can check it out here.


Happy Paper Crafting!

*Contact me directly to place an order or search for Blaze Tully under 'Find a Demonstrator' to shop under me on the Stampin' Up Website.*

Wednesday, March 3, 2021

A Touch Of Ink Fun Fold - #GDP 281

If you are feeling like all your cards are looking very similar one of the easiest ways to shake things up is to make a fun fold card. This is such a fun and easy card to make and it doesn't require any irregular folds or weird measurements.

Today I am trying something new. I have decided to participate in this weeks Global Design Project Challenge. This week was a color challenge, meaning I had to use the specified colors in my card layout. As per the rules I was able to add Basic White and Black to my card as desired.

Supplies

1 - 8 1/2"x11" sheet of Bermuda Bay cardstock

1 - 5 1/4"x4" piece of Basic White cardstock

Scrap Basic White cardstock

Scrap Blushing Bride cardstock

Real Red ink pad

Memento Black ink pad

A Touch of Ink stamp set


Instructions

Take the 8 1/2"x11" sheet of cardstock cut it down to 5 1/2"x5 1/4" and score that at 4 1/4" on the long side. I then took the piece of Basic White cardstock and laid it underneath the flap making sure it was centered. I then applied the adhesive to the front of the Basic White layer on the left side underneath the flap. You can put the adhesive on the back of the flap but make sure it doesn't go the whole length and glue the flap closed.

I then took the scrap piece of Basic White and in Real Red ink stamped the floral image from the A Touch of Ink stamp set, I then stamped the outline in Memento Black. I wanted two floral images so I stamped it twice. Then with the Blushing Bride cardstock I stamped the butterfly outline in Memento Black. I fussy cut all the images and started by adhering the floral images to the front of the card, slipping the stems under the flap slightly. I wanted the illusion that the butterfly was sitting in the flowers so I slipped him slightly in between the floral images.

To finish off the card, I took the 'thinking of you' stamp from the A Touch of Ink stamp set and in Memento Black stamped it in the bottom right corner.

Tips & Tricks

While I chose to stamp and fussy cut the floral images out you easily could have stamped them directly onto the layer of Basic White instead. Because of the placement and nature of the butterfly stamping it directly onto the card front wouldn't have worked.

 Let me know in the comments below what you thought of this fun fold card. Do you want to see more fun folds?

Happy Paper Crafting! 

*Contact me directly to place an order or search for Blaze Tully under 'Find a Demonstrator' to shop under me on the Stampin' Up Website.*