Sale-a-bration ended a couple of weekends ago and I hope everyone was able to get a stamp set or pack of paper that they wanted. I was able to get what I believe is my new favorite stamp set. I am adoring it and can't get enough of it. I apologize in advance because you guys might get sick of seeing this stamp set. A couple of weeks ago I posted a no sentiment card I made with the To A Wild Rose stamp set. Feel free to check it out here. But I loved that design and I wanted to experiment with more no sentiment cards. So I CASEd my own card. CASEing is a concept that we card makers love and it stands for Copy and Selectively Edit. I hope you can see in what ways I CASEd my card.
Supplies
1 - 8 1/2"x11" sheet of Crumb Cake cardstock
1 - 5 1/4"x4" piece of Forever Greenery DSP
Scrap Basic White cardstock
A Touch Of Ink Stamp Set
Sahara Sand Ink Pad
Rococo Rose Ink Pad
Memento Black Ink Pad
Crumb Cake Stampin' Write Marker
Primrose Petals Stampin' Write Marker
Stampin' Dimensionals
Forever Greenery Gold Trim
Instructions
Take the 8 1/2"x11" sheet of cardstock cut it down to 8 1/2"x5 1/2" and score that at 4 1/4" on the long side. I then took my scrap pieces of Basic White cardstock and stamped the hummingbird in Sahara Sand, with the outline in Memento Black. I then took my Crumb Cake Stampin' Write Marker and using the brush tip I added some depth to the image. I essentially just drew along each line of the wings and tails and colored the belly, I then fussy cut the humming bird out. I then stamped the flower in Rococo Rose three times with the outline in Memento Black. I took the Primrose Petals Stampin' Write Marker and just darkened up the petals and leaves with the brush tip end. I also fussy cut the flowers out.
I then took the Forever Greenery Gold Trim and wrapped it around the left side of the DSP. I adhered each end of the trim with a glue dot on the back side of the DSP. I then adhered the piece of DSP to the Crumb Cake card base. I then laid the flowers on the card front layering then the way I wanted. When I was happy with the placement I put Stampin' Dimensionals on the back of the Humming bird and adhered him to the front of the card.
Tips & Tricks
I wrapped the Gold trim around the piece of DSP but you could also cut 3 lengths of trim if you feel like wrapping it would waste too much trim.
If you have read my other card tutorials where I used the gold trim you know that I like to tie knots in it to avoid unraveling. For this card I want to tell you not to do that. A knot would add to much bulk to the card and you could have trouble with keeping the DSP adhered to the front of the card. Instead of tying two knots where I wanted to cut the trim I only made one that way the trim on the spool wouldn't unravel.
My third tip for making this card is making sure that whatever color you stamp your images in needs to be light enough that the marker will actually add to the images.
Unfortunately you can't get this stamp set anymore. But perhaps if a friend was able to snag it during Sale-a-bration you could plan a craft date with them. But the whole idea behind these no sentiment cards is to use the image stamps you have.
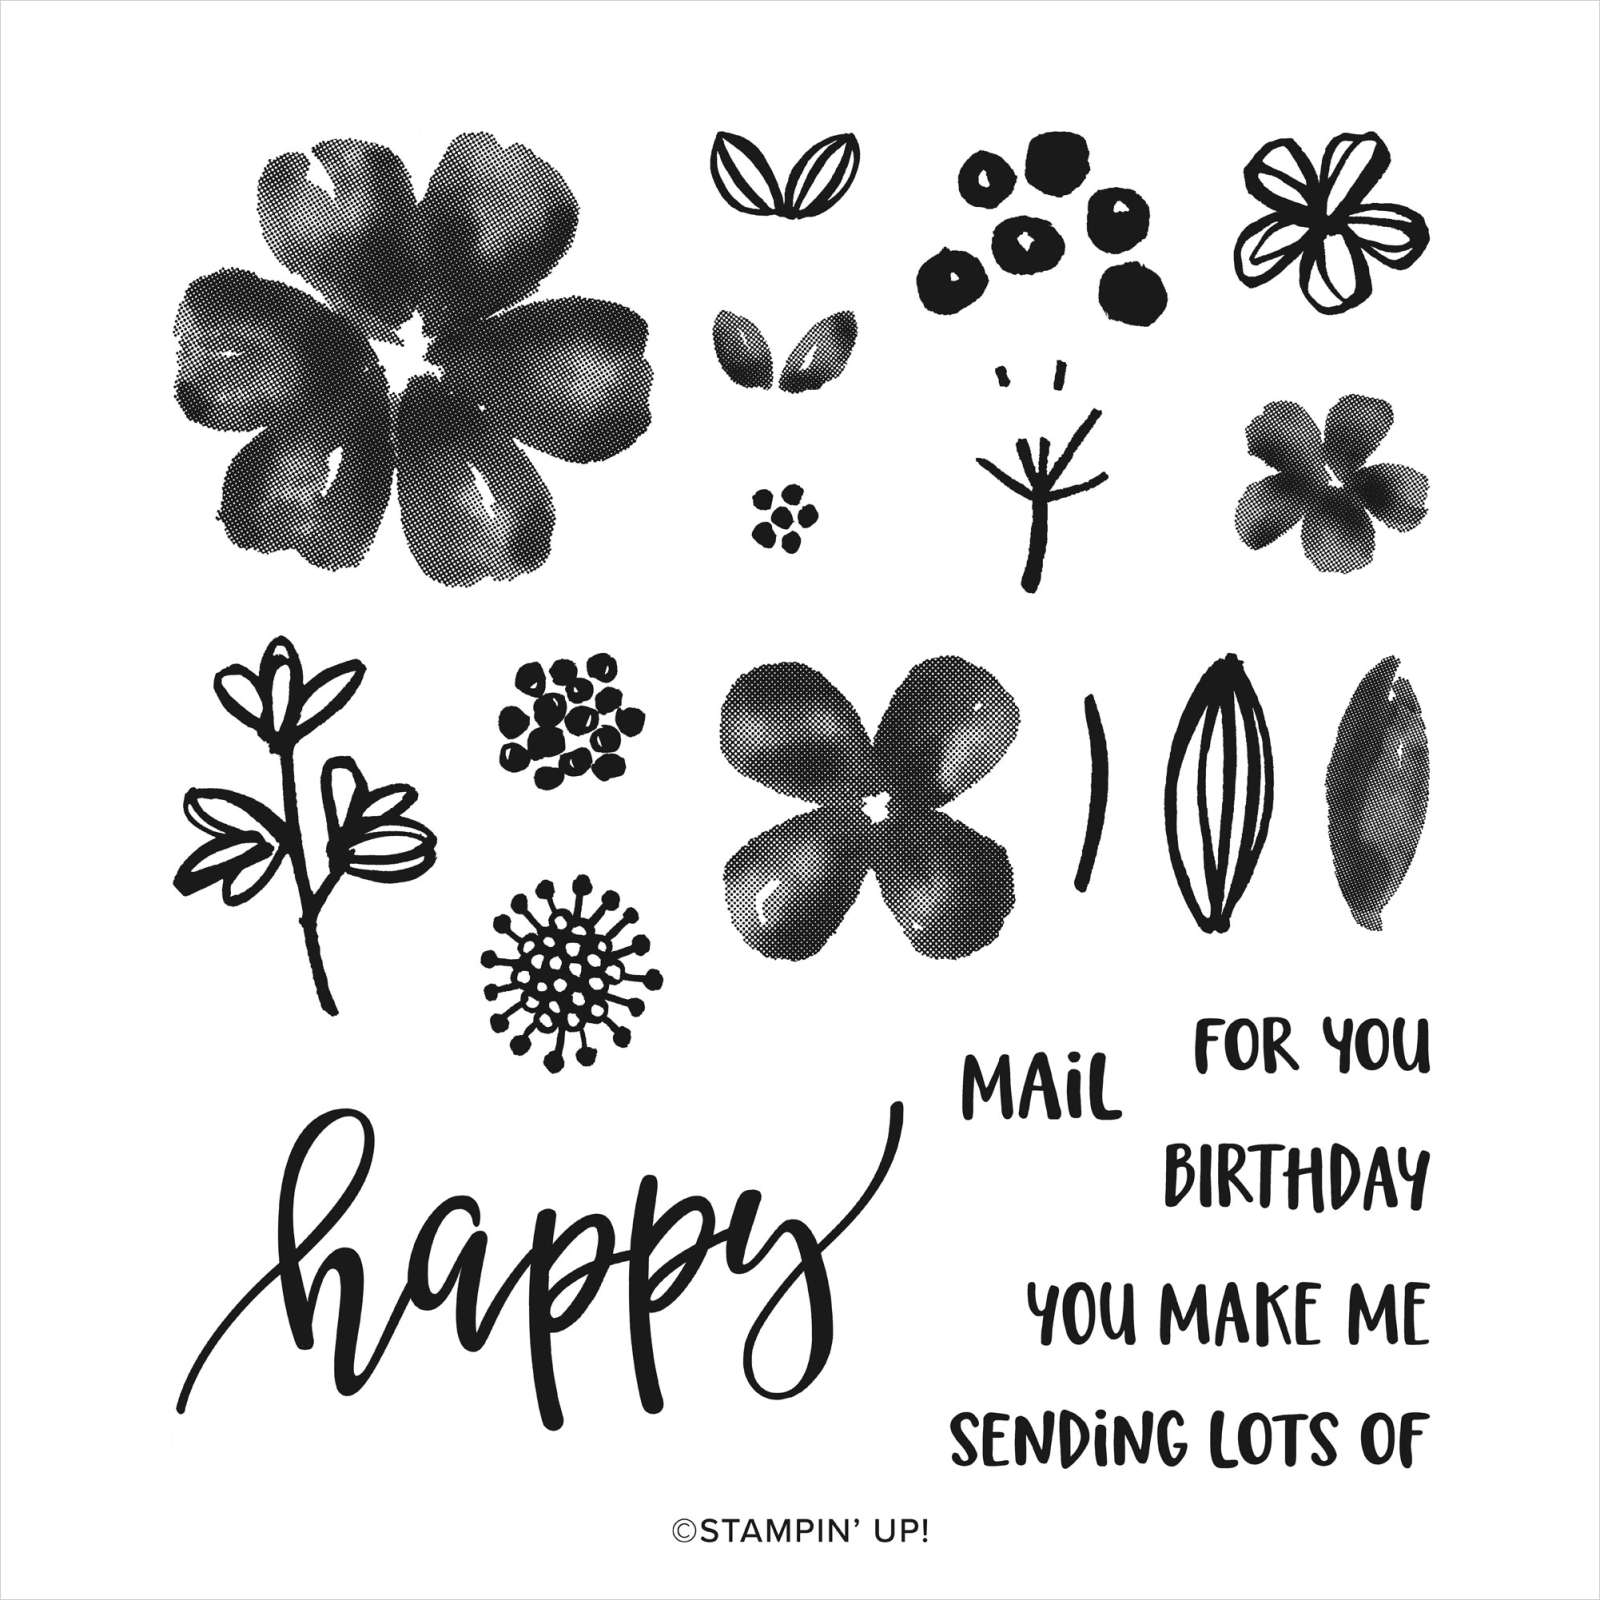
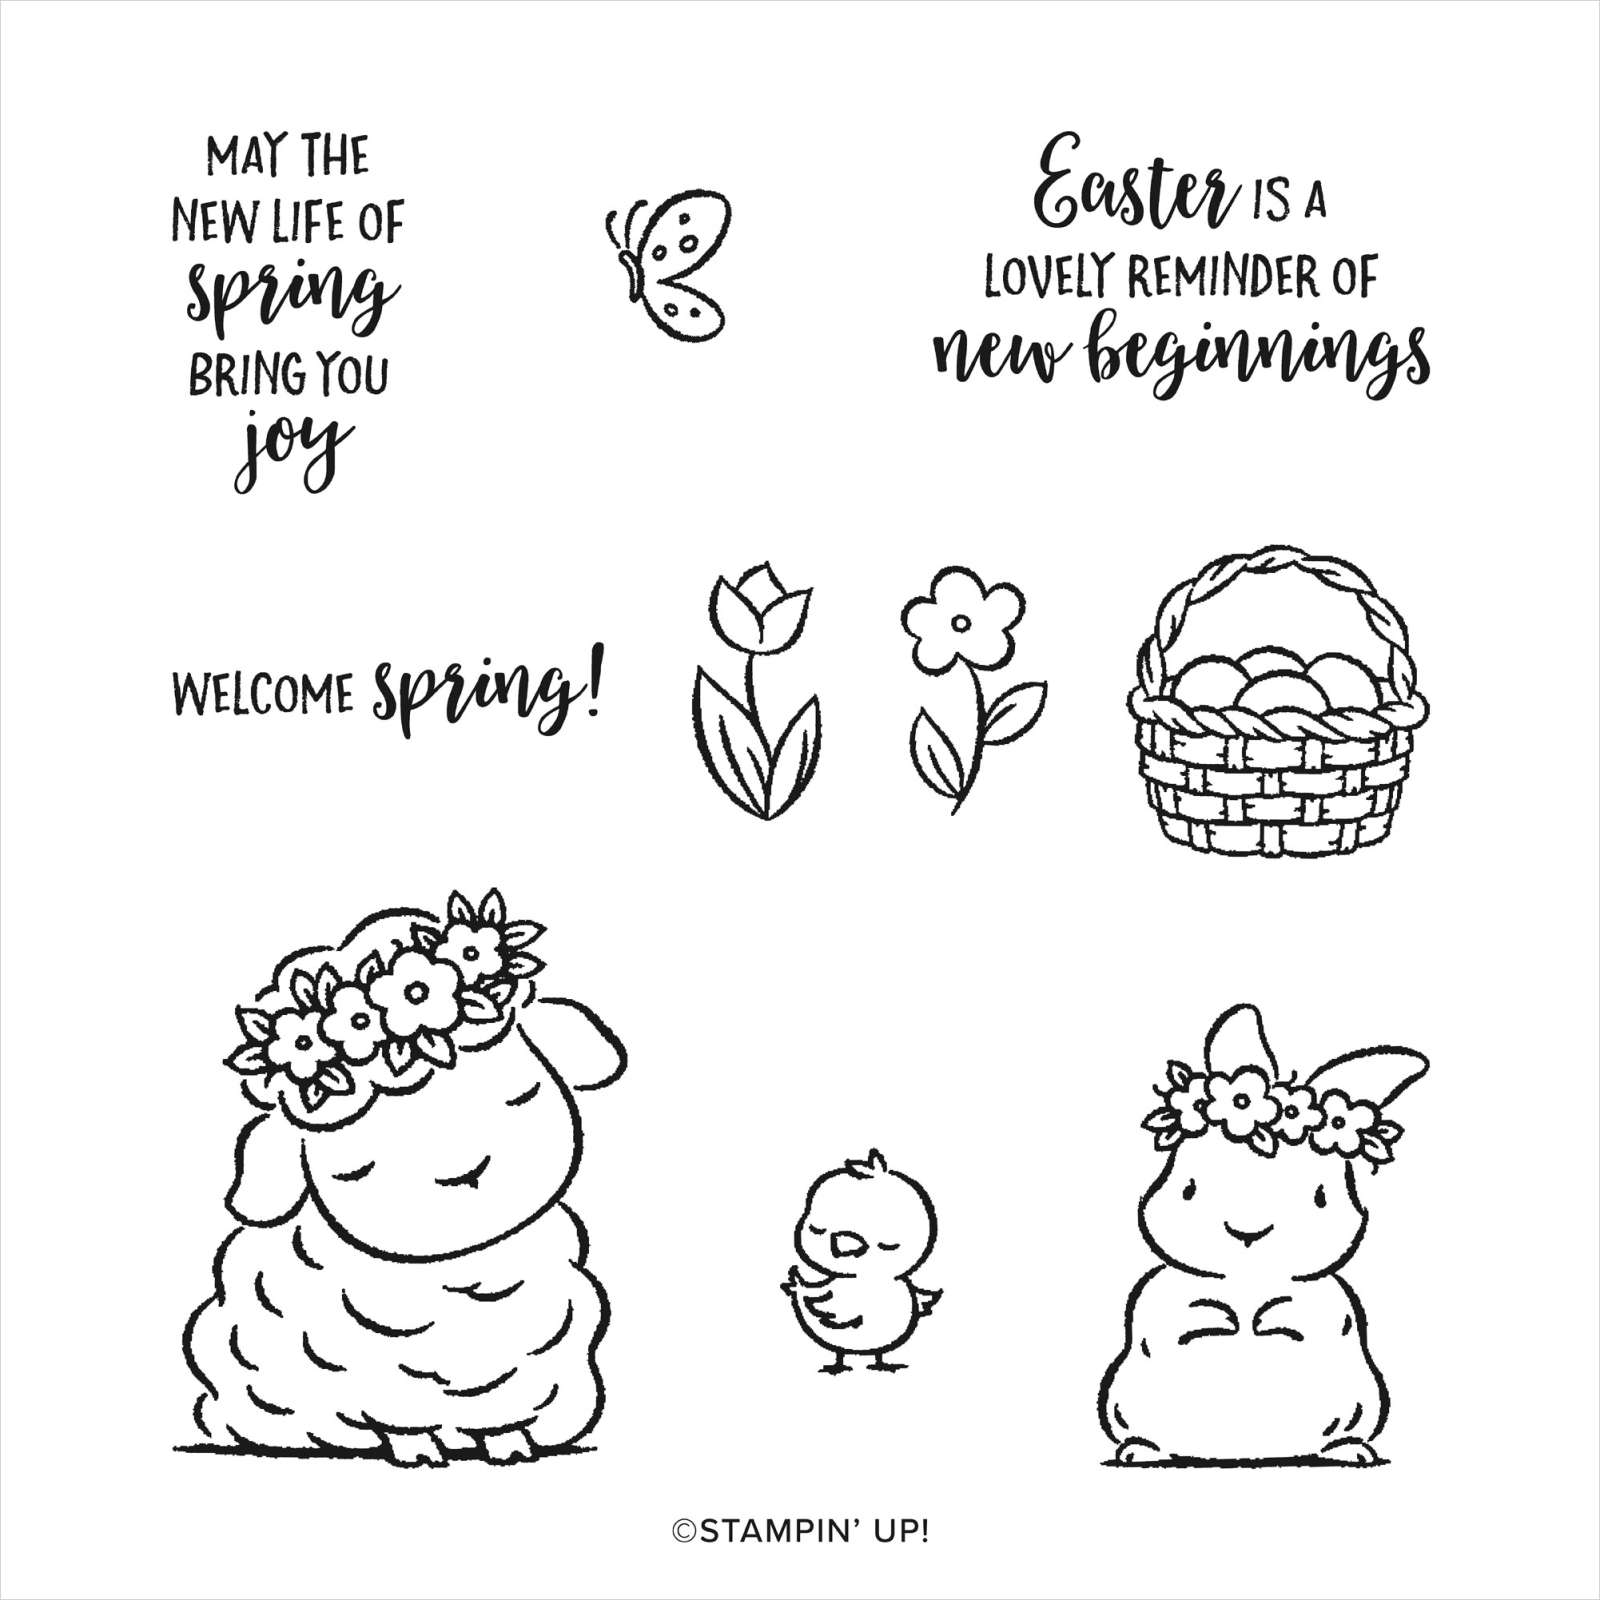
Easter is coming up in about a month and if you are someone who makes Easter cards you could take this layout and using the flower stamps from the Pretty Perennials Stamp Set in the mini catalogue you could layer either the Sheep or Bunny image from the Springtime Joy Stamp set also found in the mini catalogue over top. It would give you a similar outcome and you could use your Stampin' Write Markers the same way.


The Pretty Perennials Stamp Set can also be purchased as a bundle which would save you from doing some fussy cutting. But I encourage you to go to your stamp collection and find some image stamps you love and find a way to feature them on a card without a sentiment.
Remember you can always stamp the sentiment on the inside of the card.
Happy Paper Crafting!
*Contact me directly to place an order or search for Blaze Tully
under 'Find a Demonstrator' to shop under me on the Stampin' Up
Website.*


No comments:
Post a Comment